Every photographer eventually reaches a point where the humble camera settings menu poses a rather important question: RAW or JPEG? This decision shapes everything from the flexibility you'll have when editing to how much space you'll need on your memory card, and getting to grips with it properly can transform the quality of your images. This guide walks through what RAW files actually are, how to work with them using professional software, and how to build a workflow that suits your photography, whether you're capturing sweeping landscapes or fast-moving wildlife.
What to know
- RAW files act as unprocessed digital negatives, retaining all the data captured by the camera sensor unlike compressed JPEG files.
- The primary technical advantage of RAW is its superior dynamic range, allowing photographers to recover details in highlights and shadows that would be permanently lost in JPEGs.
- Shooting in RAW provides significant post-processing flexibility, enabling non-destructive adjustments to white balance, exposure, and color without degrading image quality.
- RAW files are significantly larger than JPEGs, necessitating larger memory cards, faster storage solutions, and a robust data backup strategy.
- Professional software like Adobe Lightroom or Capture One is essential for interpreting RAW data into a final, polished image.
- A RAW+JPEG workflow offers a practical compromise, providing immediate, shareable files alongside high-quality RAW files for extensive professional editing.
- The choice between RAW and JPEG should be based on the specific requirements of the shoot, such as the need for instant delivery versus the demand for maximum image fidelity.
What are raw files and why should photographers care?
At its core, a RAW file is the digital equivalent of a film negative. It contains every scrap of information your camera's sensor recorded at the moment of exposure, completely unprocessed and untouched by in-camera algorithms. This stands in stark contrast to a JPEG, which the camera compresses and processes on the fly, discarding vast amounts of data in the process to produce a smaller, ready-to-use file. According to research from UK Photo Tours, an article that has been read by around 5,161 photographers and was written by Dion Hitchcock, this distinction lies at the very heart of why so many enthusiasts eventually make the switch to shooting RAW.
Understanding the Fundamental Differences Between RAW and JPEG Formats
The most obvious difference between the two formats is file size. A RAW file typically weighs in somewhere between 20 and 50 megabytes, whilst a JPEG tends to sit comfortably between 3 and 10 megabytes. That gap exists because JPEG applies compression, squeezing the image down by throwing away detail the algorithm deems unnecessary. RAW, by comparison, keeps everything intact, which is precisely why it's become something of an industry standard among professionals who can't afford to lose image quality along the way.
The Technical Advantages of Unprocessed Sensor Data in Digital Photography
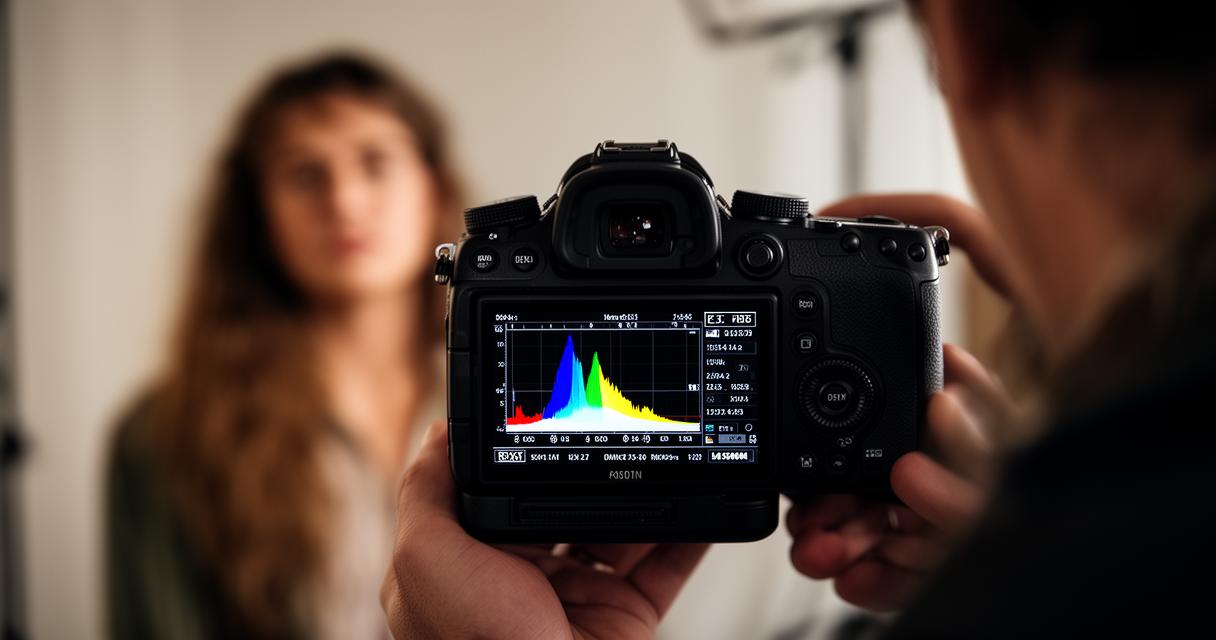
Because RAW files retain the full breadth of sensor data, they offer considerably more room to manoeuvre during editing. This becomes particularly obvious when dealing with tricky lighting. Dynamic range recovery, the ability to pull detail out of blown-out skies or murky shadows, is vastly superior in RAW compared with JPEG. Highlight recovery and shadow detail that would simply be lost forever in a JPEG can often be salvaged with a RAW file, making it the preferred choice for landscape photography and other situations where lighting conditions are unpredictable.
Mastering post-processing: how to develop raw files using lightroom
Shooting in RAW is only half the story; the real magic happens during post-processing. Software such as Adobe Lightroom gives photographers the tools to shape their images exactly as they envisioned, rather than being stuck with whatever interpretation the camera decided upon. Other popular options include Photoshop, Capture One, and the free alternative Darktable, each offering slightly different approaches to the same fundamental task of turning raw sensor data into a finished photograph.
Essential White Balance and Dynamic Range Adjustments for Superior Image Quality
One of the biggest perks of working with RAW files is the freedom to adjust white balance after the fact, without any loss of quality. If your camera got the colour temperature wrong under fluorescent lighting or during a golden hour shoot, you can correct it in Lightroom as though you'd set it perfectly in the first place. The same applies to dynamic range, where sliders controlling highlights and shadows allow for a level of fine-tuning that JPEG simply cannot match, since so much of that original information has already been discarded by the camera.
Professional editing techniques that preserve image integrity and detail
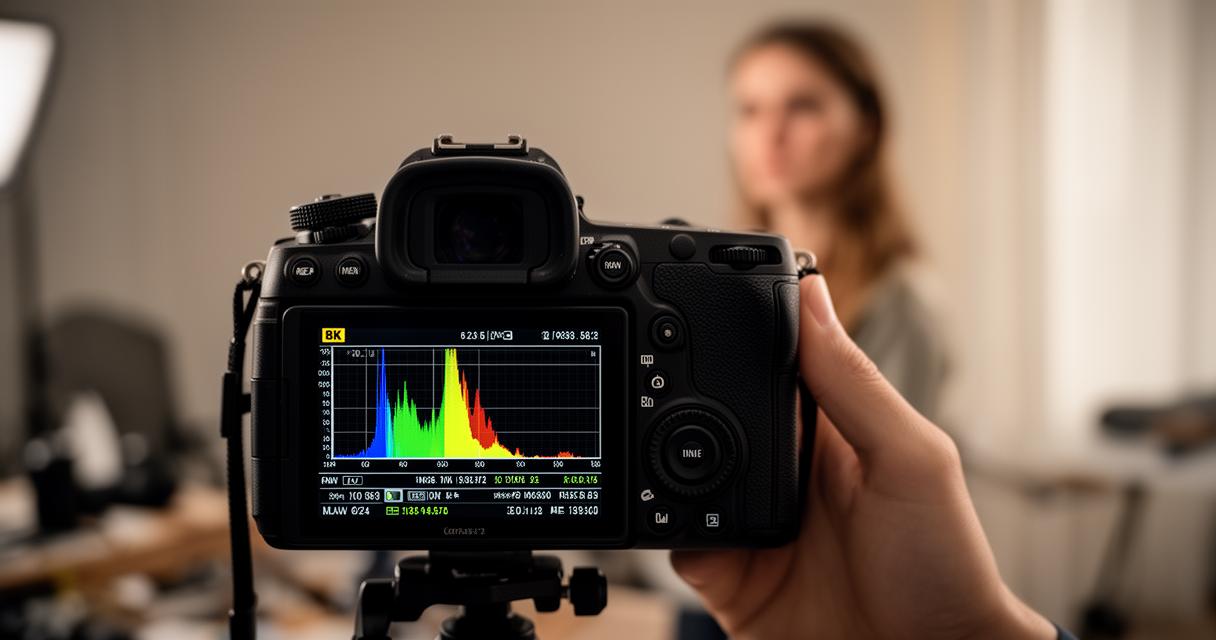
Perhaps the most valuable aspect of RAW editing is that it's entirely non-destructive. Every adjustment you make in Lightroom is stored as an instruction rather than a permanent change to the pixel data, meaning you can always return to the original file and start again. JPEG editing, on the other hand, degrades the image a little more with every save, since compression is reapplied each time. For anyone serious about image quality, this alone makes a compelling case for building a RAW-based workflow.
Practical workflow: from camera sensor to memory card storage
Once you understand the technical benefits, the next challenge becomes practical: how do you actually manage RAW files day to day without drowning in storage demands or slowing down your workflow? The answer lies in thoughtful preparation before you even press the shutter.
Optimising your shooting settings and memory card management
Given their considerable size, RAW files demand generous memory card capacity and a sensible storage plan. It's worth considering a few practical steps before heading out on a shoot:
- Carry high-capacity memory cards with fast write speeds to avoid bottlenecks during bursts of shooting
- Back up files promptly after each session to prevent data loss
- Consider a RAW+JPEG workflow when you need both immediate sharing and long-term editing flexibility
This last point is particularly useful for events where speed matters, such as weddings or sports, where a JPEG can be shared instantly whilst the RAW file remains available for more considered editing later.
Building a Professional RAW Photography Workflow for Consistent Results
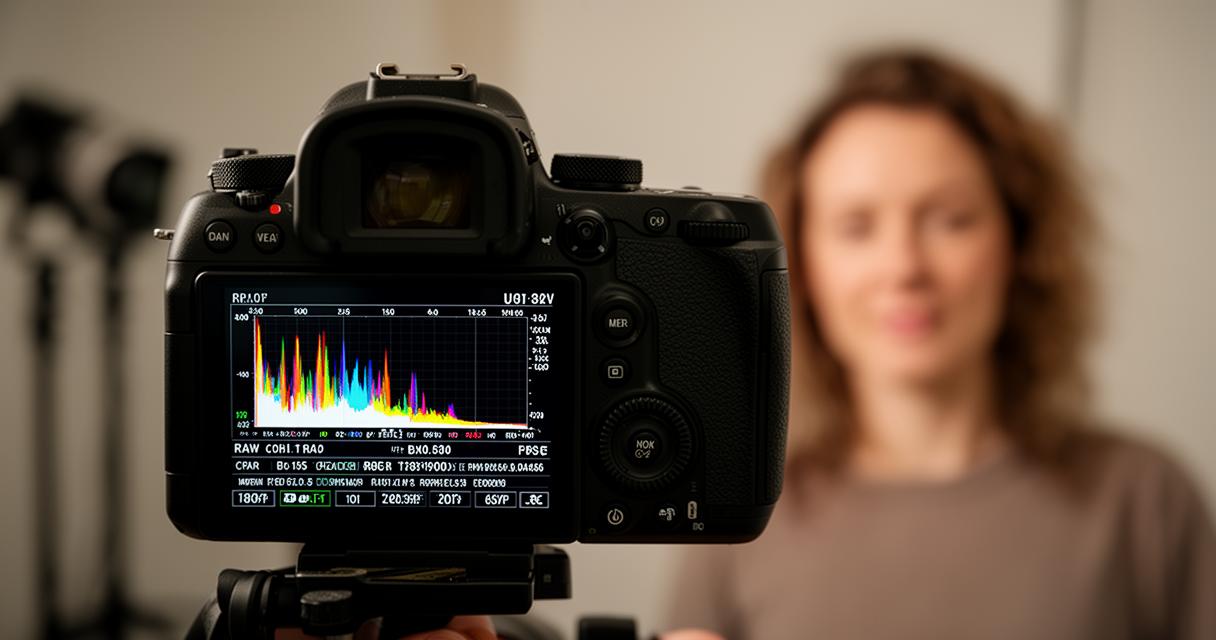
Ultimately, choosing between formats comes down to purpose, storage capacity, your appetite for editing, and how efficient you need your workflow to be. Shooting RAW makes excellent sense for landscape photography, wildlife photography, and any scenario where you plan on editing extensively afterwards. JPEG remains perfectly practical for casual photography, fast-paced events, and situations demanding instant results for social media sharing. For photographers who want the best of both worlds, RAW+JPEG offers a sensible compromise between convenience and quality. Whichever route you choose, understanding these trade-offs is the first step towards a more deliberate, confident approach to your photography.